

Posted by RawKrafted Staff on Mar 8th 2022
Pipe Photography
Photography Has always fascinated me and as of the past few years has consumed my daily work routine. I got familiar with pipe photography in more of a mechanical way. I started out taking daily pictures of pipes to upload to the site or for social media.. I was given instructions from my friend and quickly found myself deeply involved in product photography. The process of product pipe photography for online sales may seem point and click but it's far from it and takes an artistic eye and style to get the desired results. In this blog I will share a few of my tips and secrets so so you can take better pictures of your pipes.
The 1st step I would say is to make sure that you clean the pipe well , fingerprints, dust etc. are easily removed with a clean non abrasive cloth. The cleaning process is of paramount importance because The less editing you do the easier the whole process is.
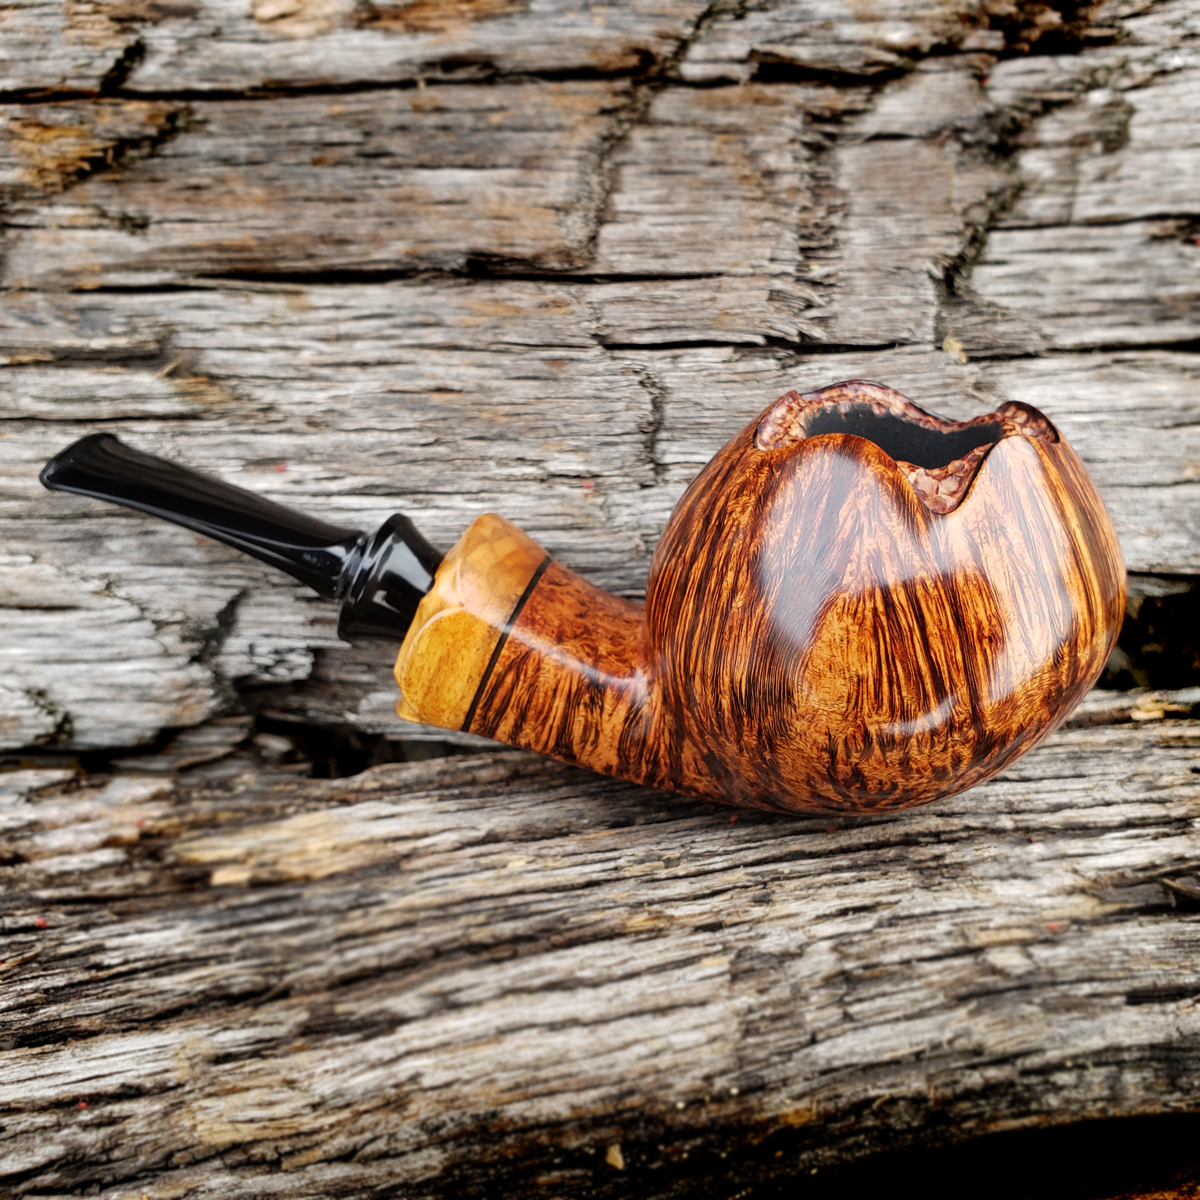
After the pipe has been cleaned and inspected the next step is to figure out your background. Backgrounds are very important, if you are taking product photography for sale online a white background is preferred because it allows for no visual distractions and shows off the pipe Just as it is. If you are taking pictures just to show off your pipe On social media or to friends a variety of backgrounds can be used ,be careful in selecting them and that they contrast the color and finish of your pipe. You want your pipe to be the star and stand out not the other way around. For instance if your pipe is heavily textured or blasted it is a good idea to use a smooth flat backgrounds, if your pipe is smooth it is a good idea to use a textured or busy background. The whole point is that your pipe stands out and does not get lost in whatever setting you put it in.
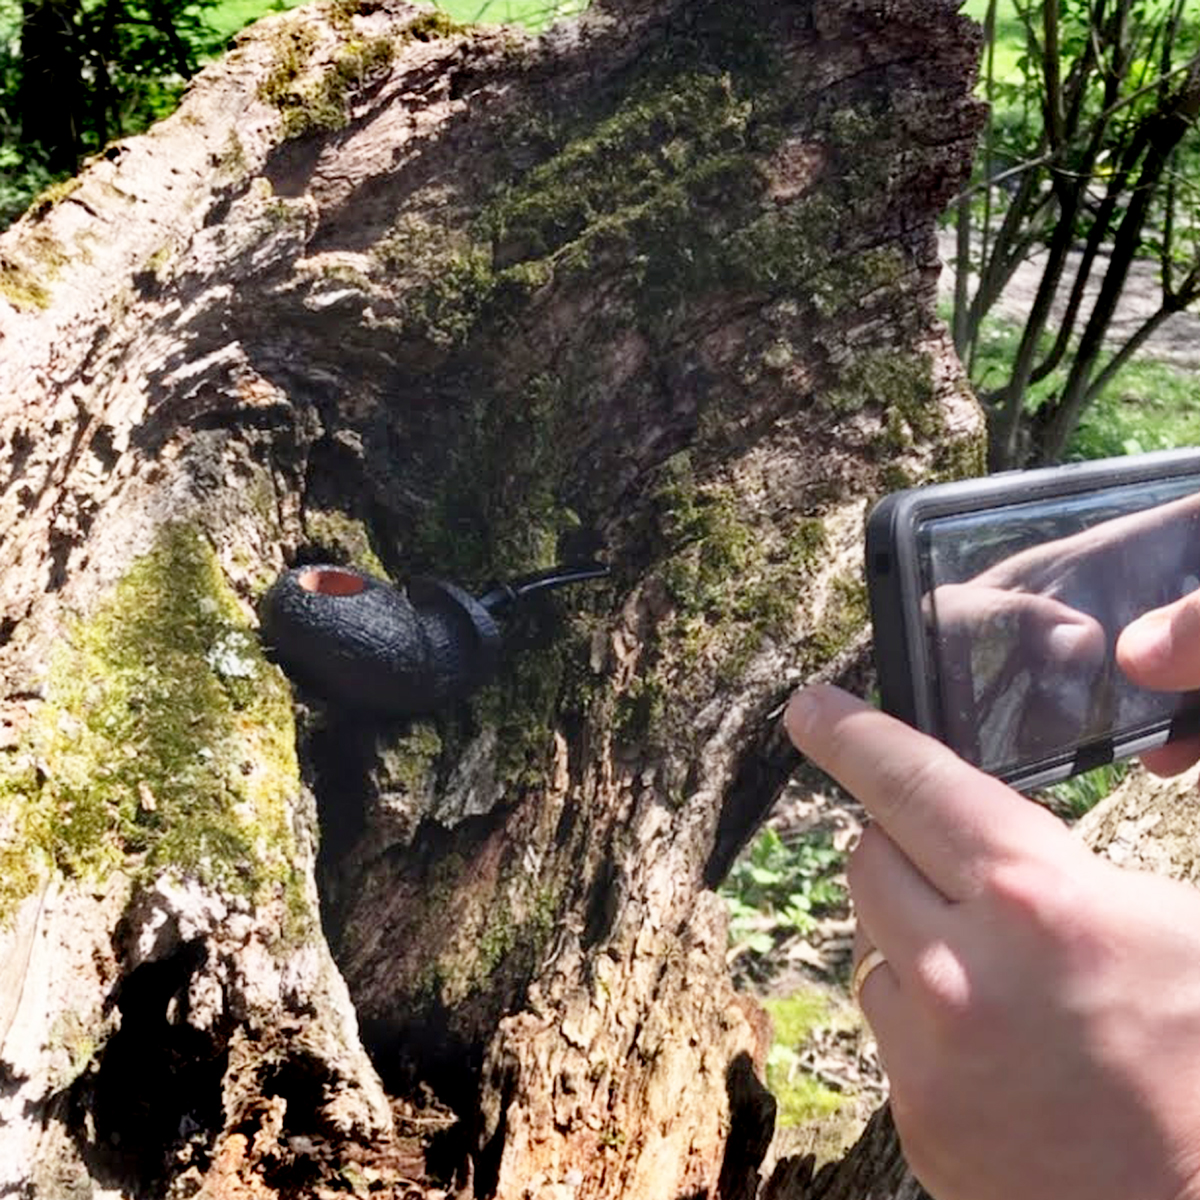
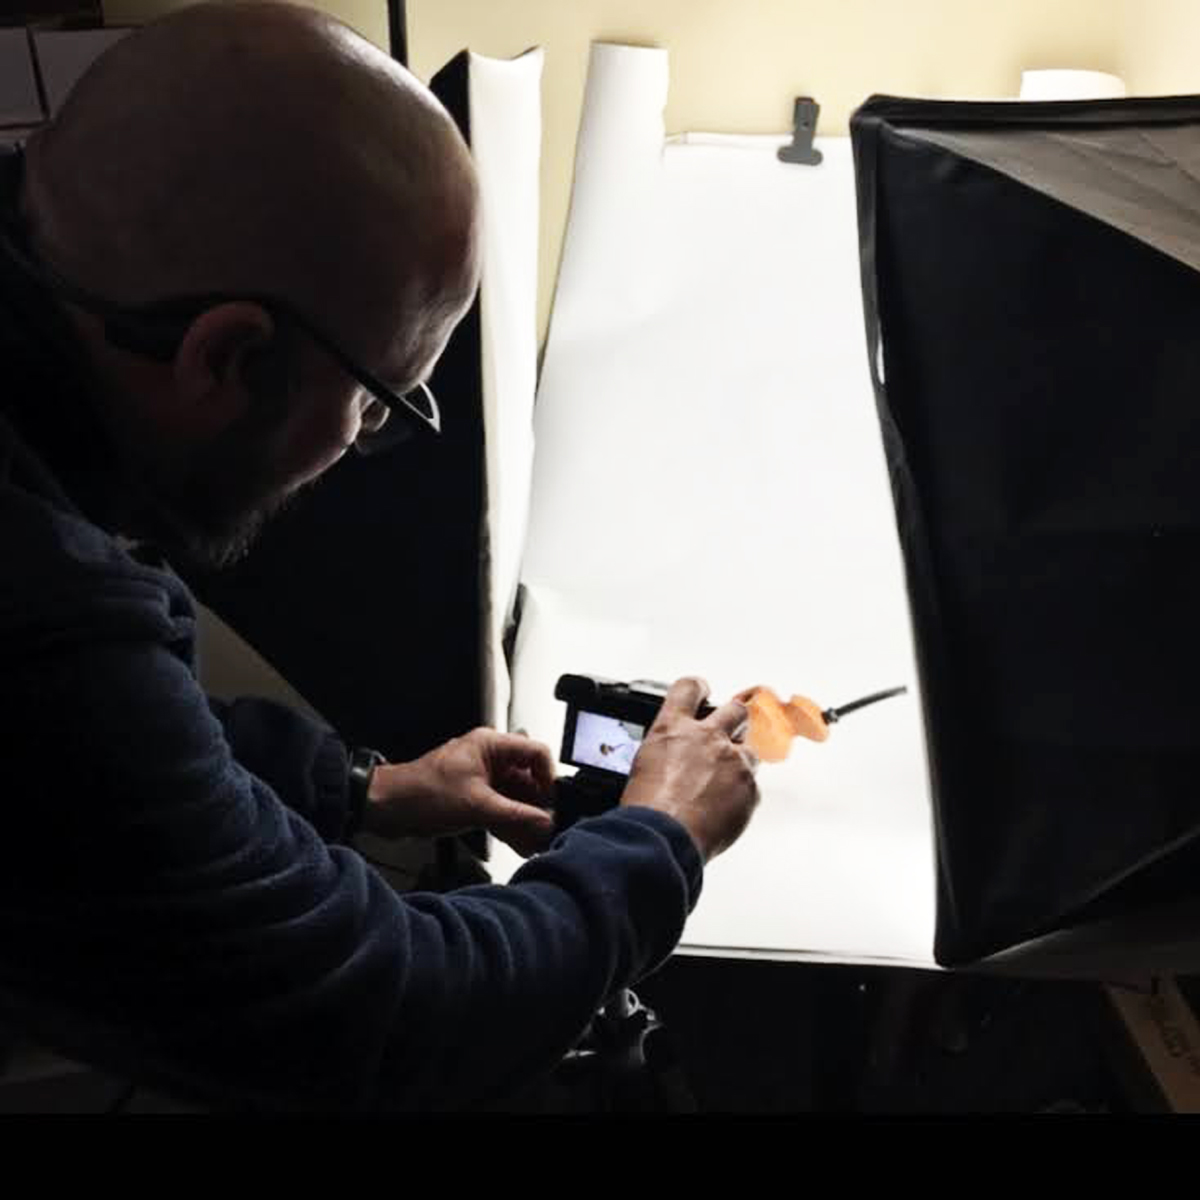
Lighting is also very important. The best lighting you can use is always natural light. Taking your pipe outside weather permitting, is in my opinion the best way get the best shot. Early mornings and late afternoons are in my opinion best. I have also found overcast days to be very nice. If you are doing product photography inside a light box or similar setup just remember to adjust lighting according to finish color and texture of your pipe.
The next thing to be considered is the angle of your pipe to your camera. This step is totally up to the photographer and to the situation and use of your pictures.
For product photography the money shot is coming in at a slight downward angle showing the top and front side of the bowl. If you are taking pictures for social media or just to share the angle of your shot could depend on the areas you would like to highlight on your creation. For instance if your pipe has a really intricate shank and stem you might want want a profile side picture to show that off ,if it has interesting plateaux you might want to change the angle to highlight that as well. All of this information is subjective and each pipe has a style and soul of its own as well as the photographer taking the picture.
To sum a few things up make sure it is clean, make sure you have good light and have fun. Your pictures can be as creative as your products and there is no set standard for either.
Happy Krafting